I’m using the new Gutenberg editor for WordPress happily and successfully. I have a couple of issues, however. I was told to submit them on Github, but I have no idea how or where to do that, so I’m just leaving it here. I hope someone is listening.
Continue reading “My Wish List for Gutenberg”Tag: WordPress
Dinner with Jetpack

The head of the Jetpack team lives in Albuquerque. I live in Albuquerque. When the Jetpack group got together for a meetup of their own in Albuquerque, they decided to invite the entire WordPress community to a Dinner with Jetpack meetup.
The meetup was in a Thai restaurant near the UNM campus. Jetpack people from all over were there. Australia, Argentina, and several other far-flung locations. I talked with the guy from Australia about ways Jetpack could get Pinterest to work with WordPress without adding blocks of code to new posts. He gave me some ideas I will try.
I talked to a woman from Wyoming who works in HR and hired all these Jetpackers. She came down to ABQ to meet them in person.
It’s refreshing to go to a WordPress meetup, but this one was particularly nice because so many people came. I talked to bloggers, WordPress developers, and WordCamp organizers. I saw some former students. I saw people I’d met at WordCamps. I even saw a woman who was in the same hotel in Chicago as a BlogHer convention I attended and happened to be on the same plane home that I was on. Everyone wanted to talk about blogging and social media and topics I love.
Thanks to the Albuquerque WordPress community for a great evening.
Wordcamp Albuquerque 2016
The night before the event, there was a planning meeting for the volunteers.

Sheelah and Alonso at the planning meeting.
Marketing Your Business with WordPress
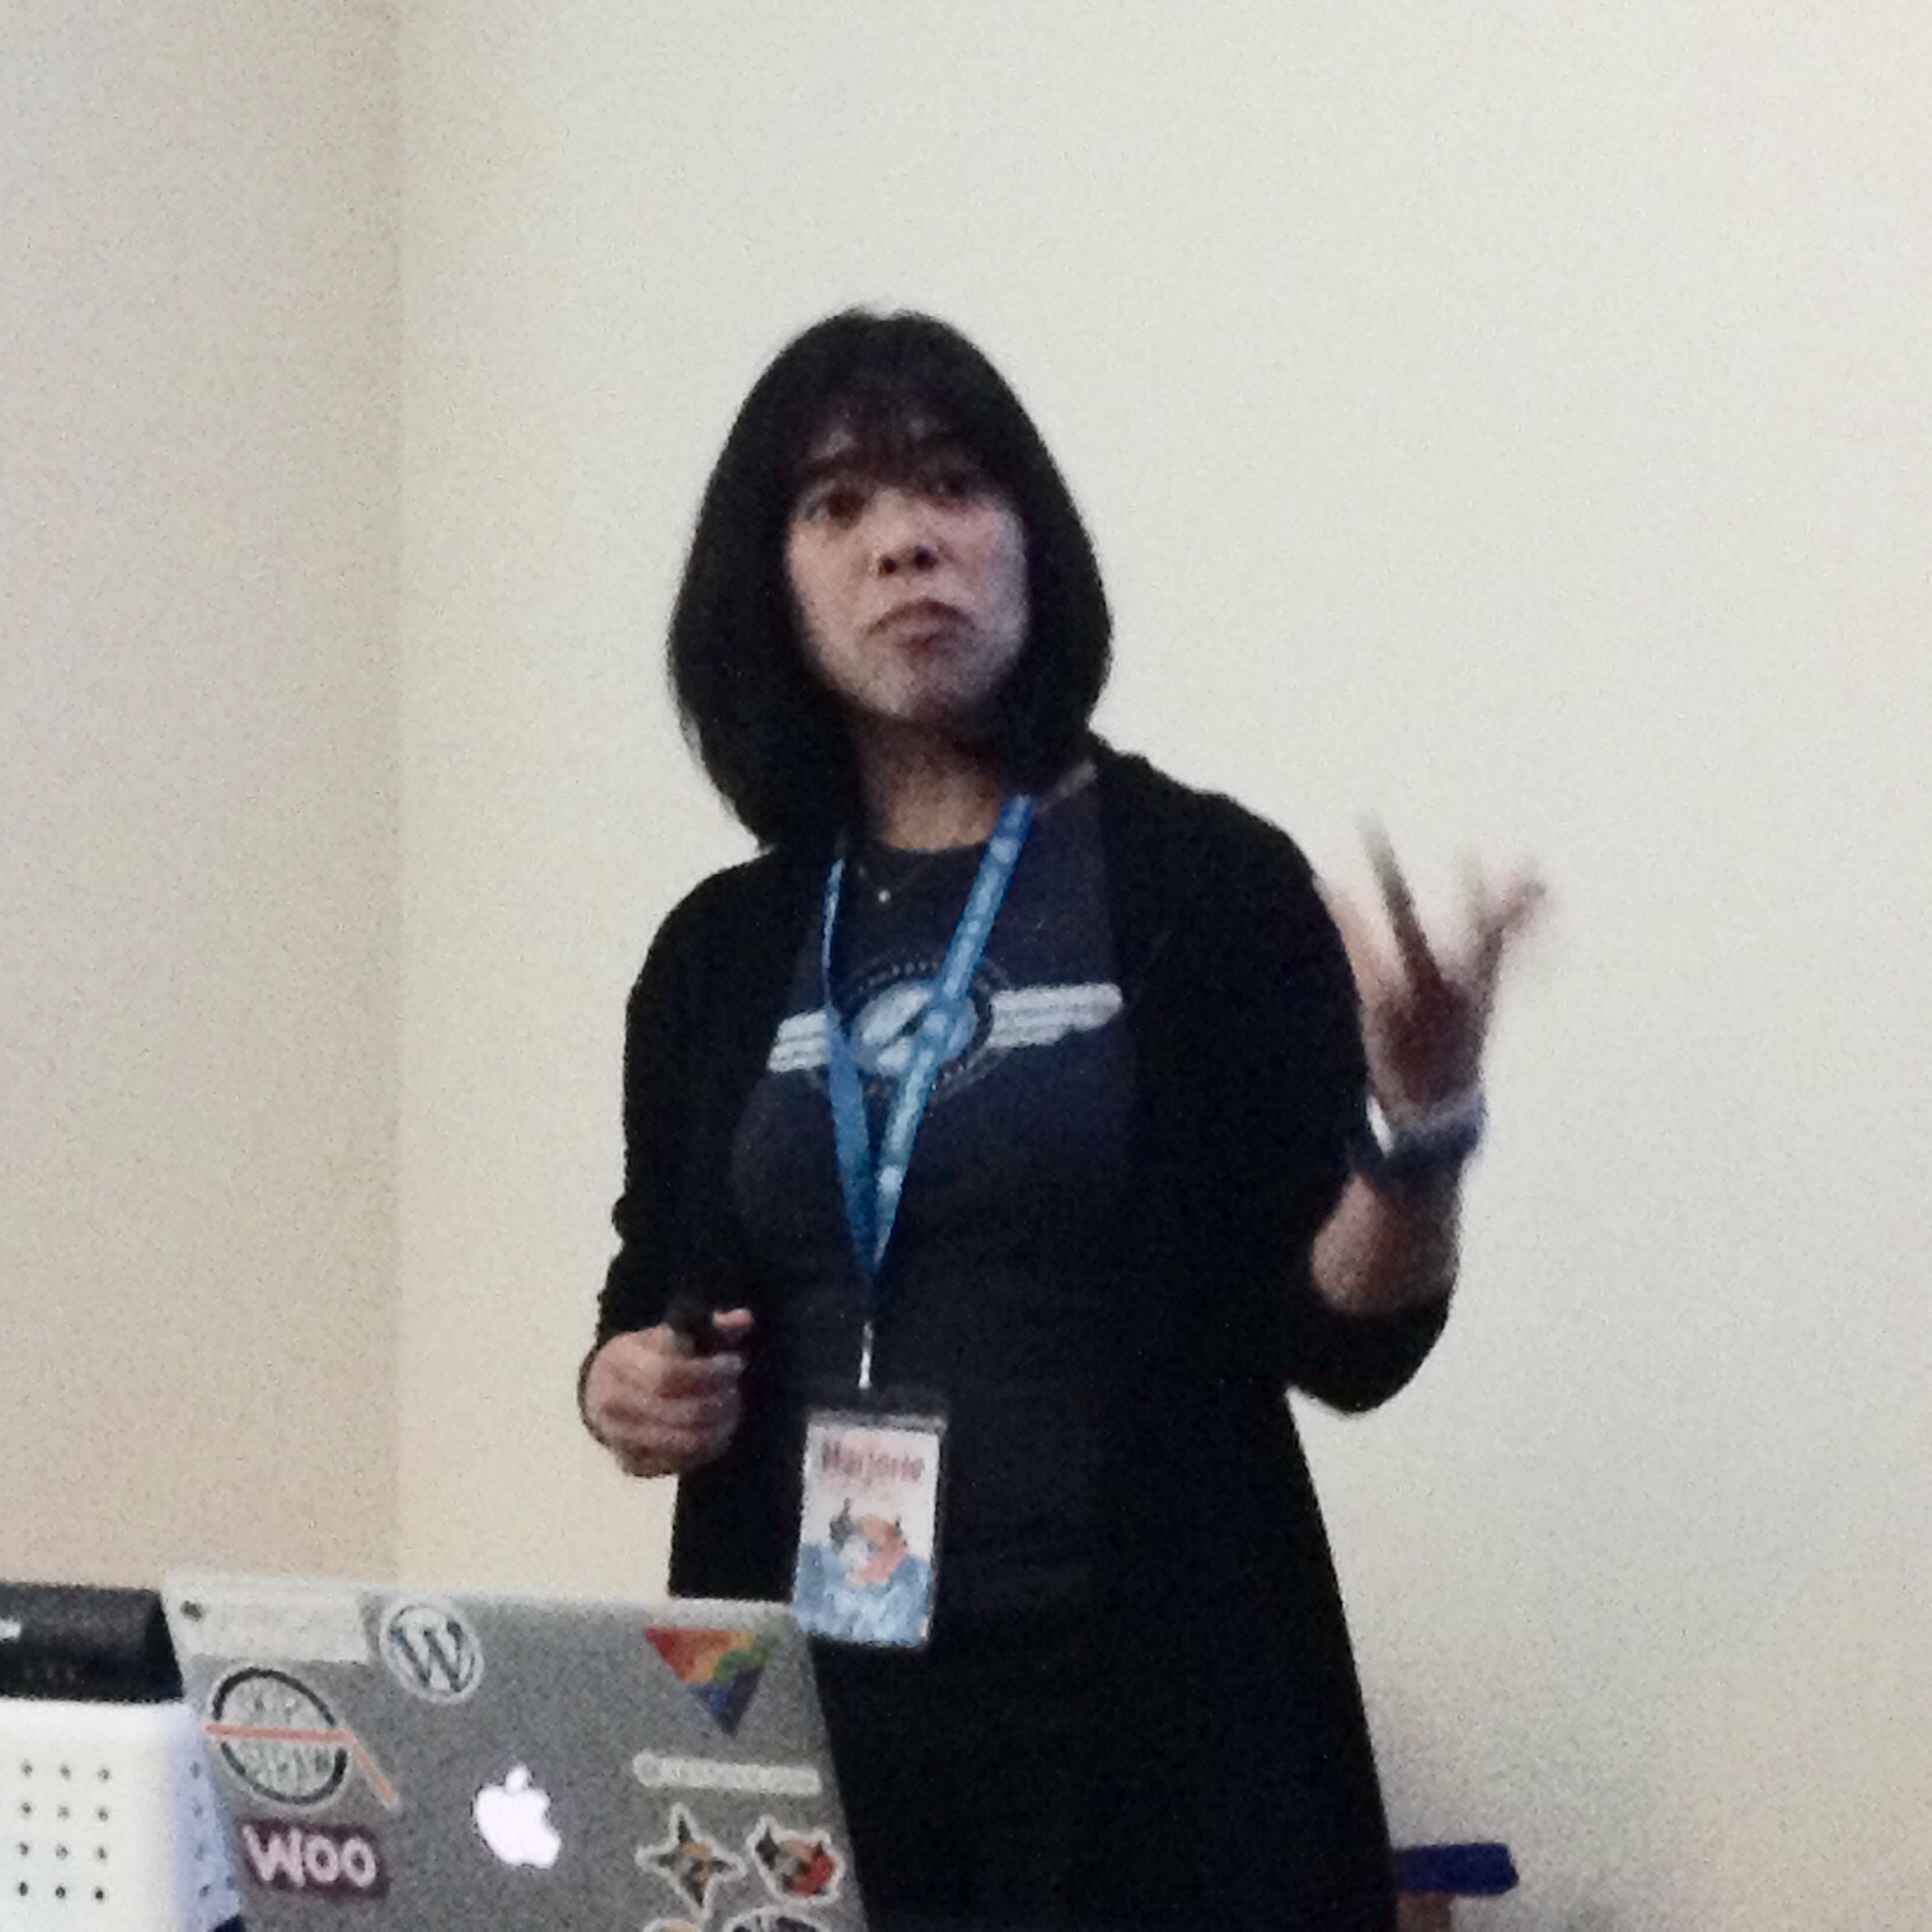
Marjorie R. Asturias presented this talk.
Marjorie emphasized the importance of the home page, the about page and the contact page. She explained when a blog could be useful to your business.
Getting into CSS
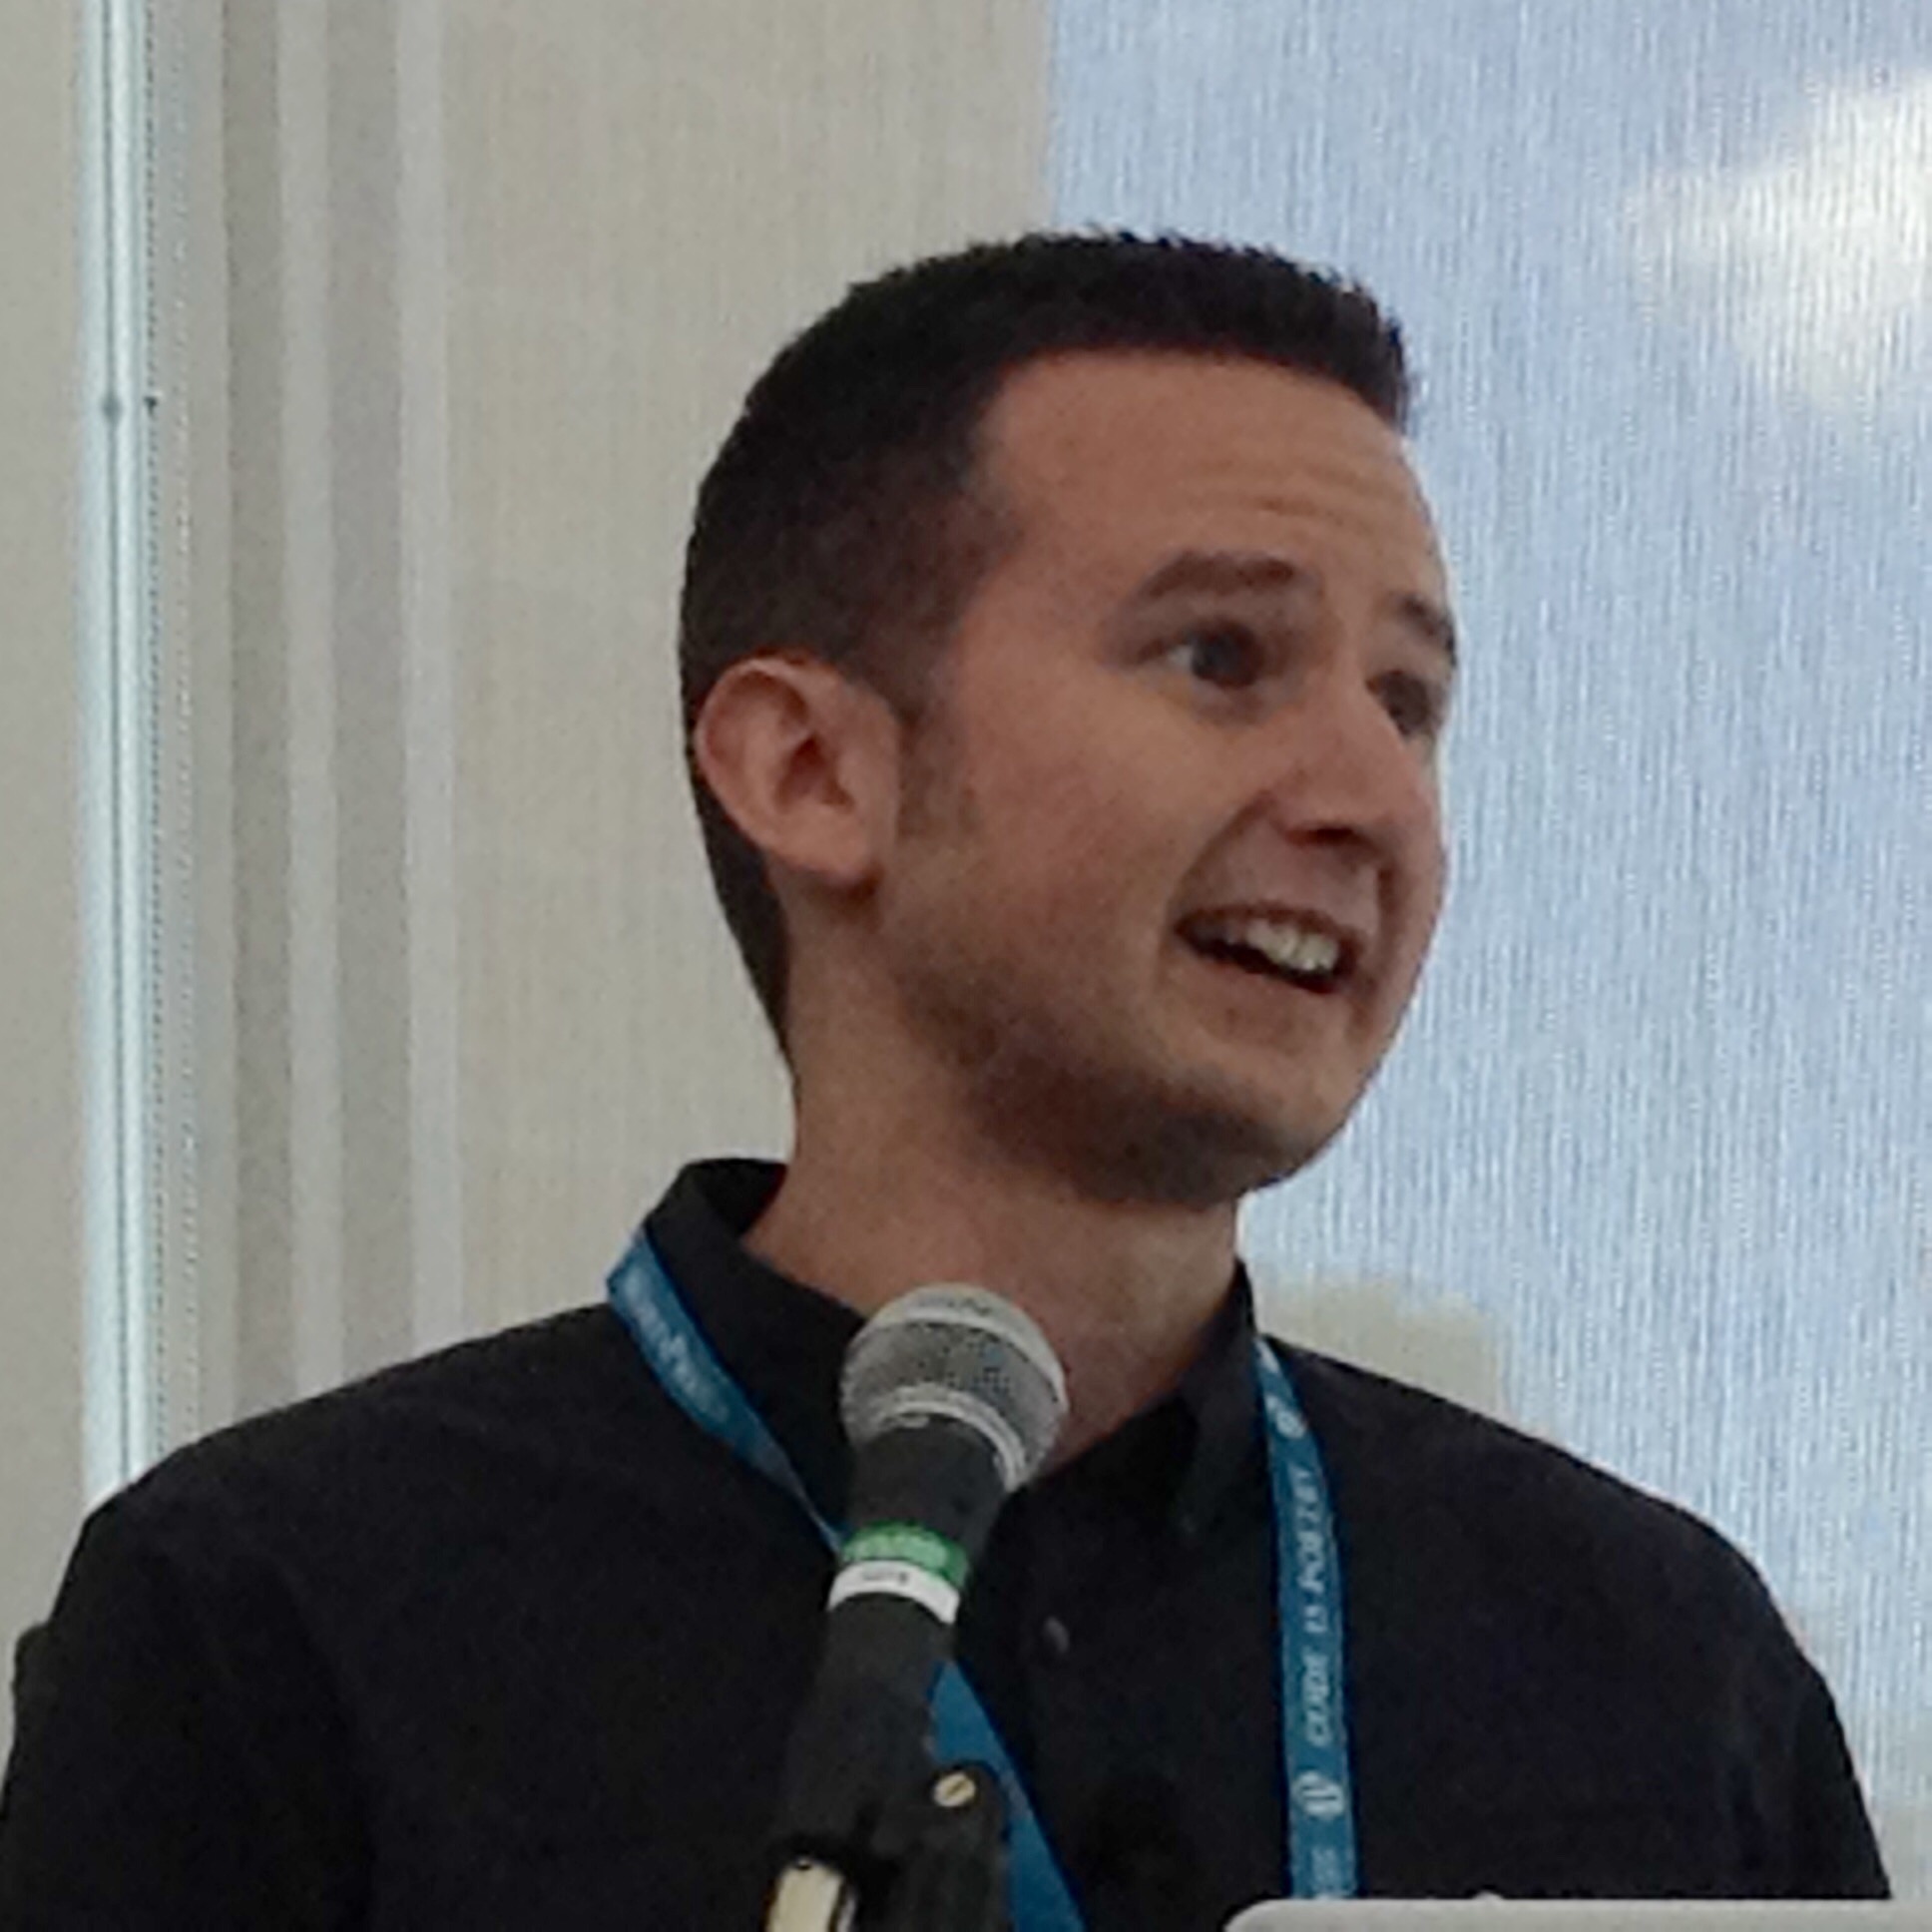
Eric Debelak gave this talk. He explained how to find selectors being used on a WordPress site using a web inspector so that they can be modified. He explained how to set up a child theme so that you could create new CSS for your theme.
He mentioned something that I didn’t know: Albuquerque residents with a library card get free access to lynda.com.
Break Time
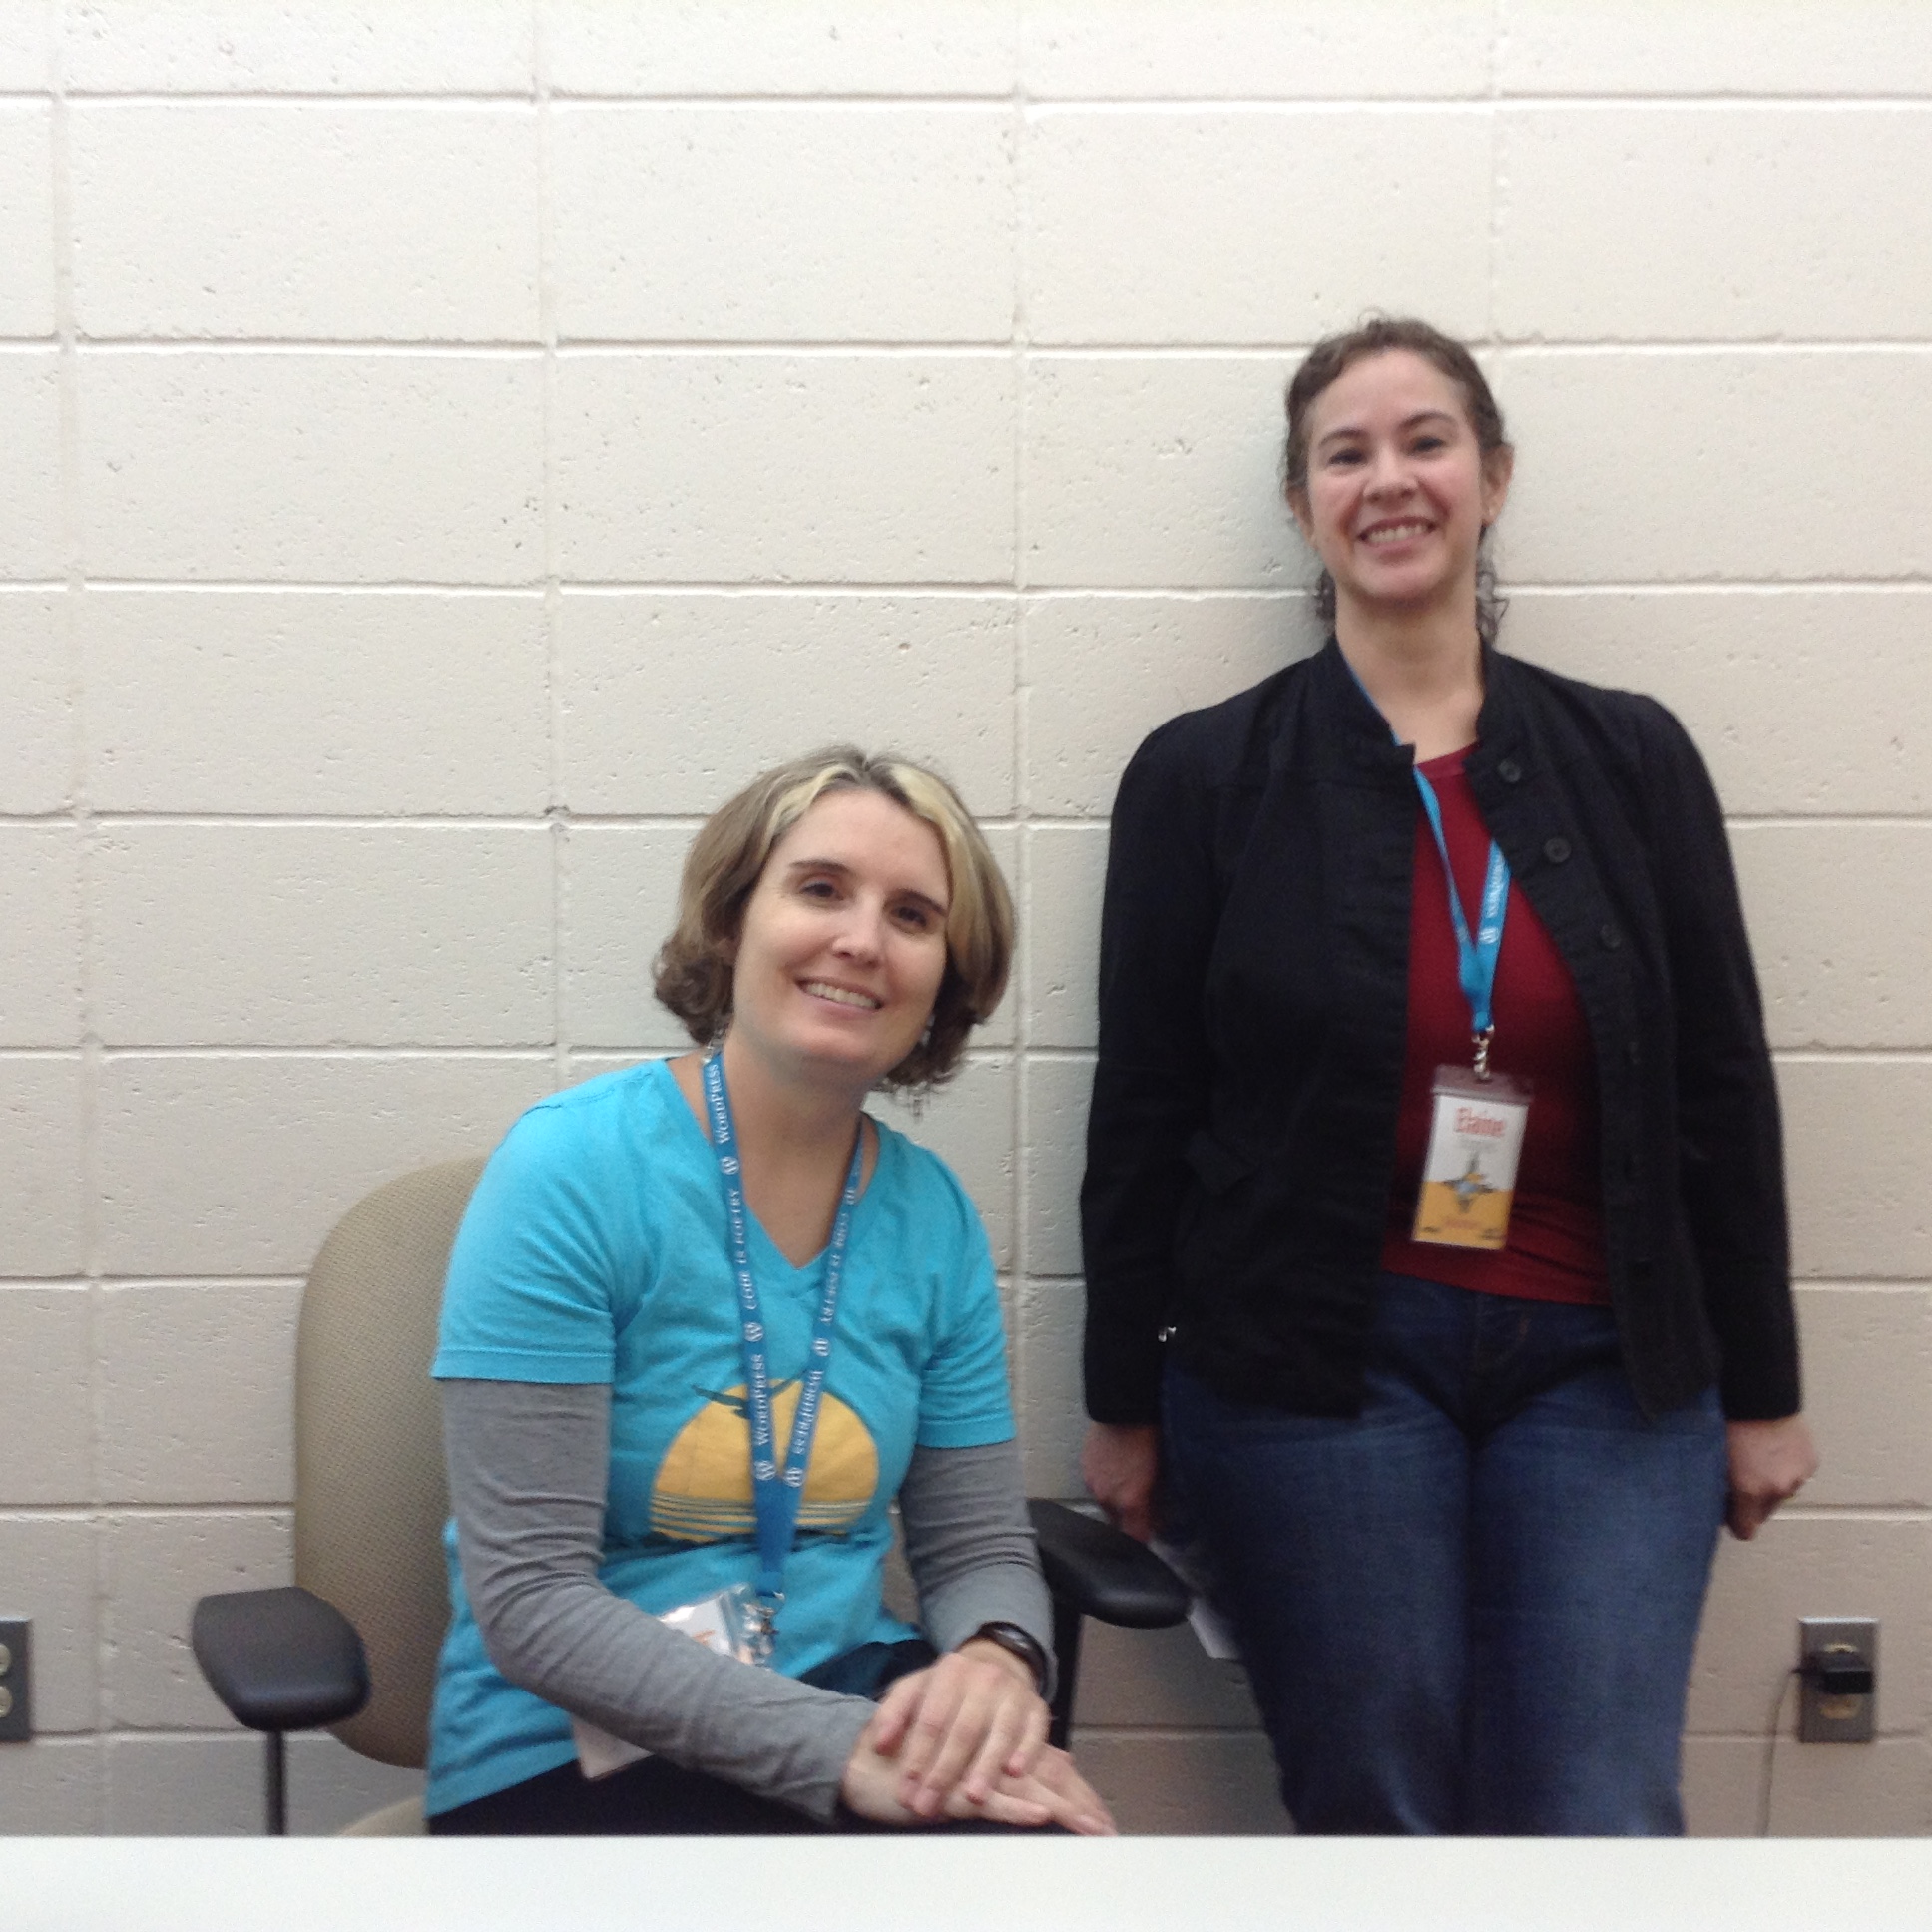
Ingrid and Elaine were great chat partners during break time. Ingrid showed me how to use the web inspector in Chrome, which was very helpful.
During lunch I chatted with a woman from Denver named Sue. She drove down specifically for Wordcamp and was happy with what she was seeing.
WordPress.com for Business Sites
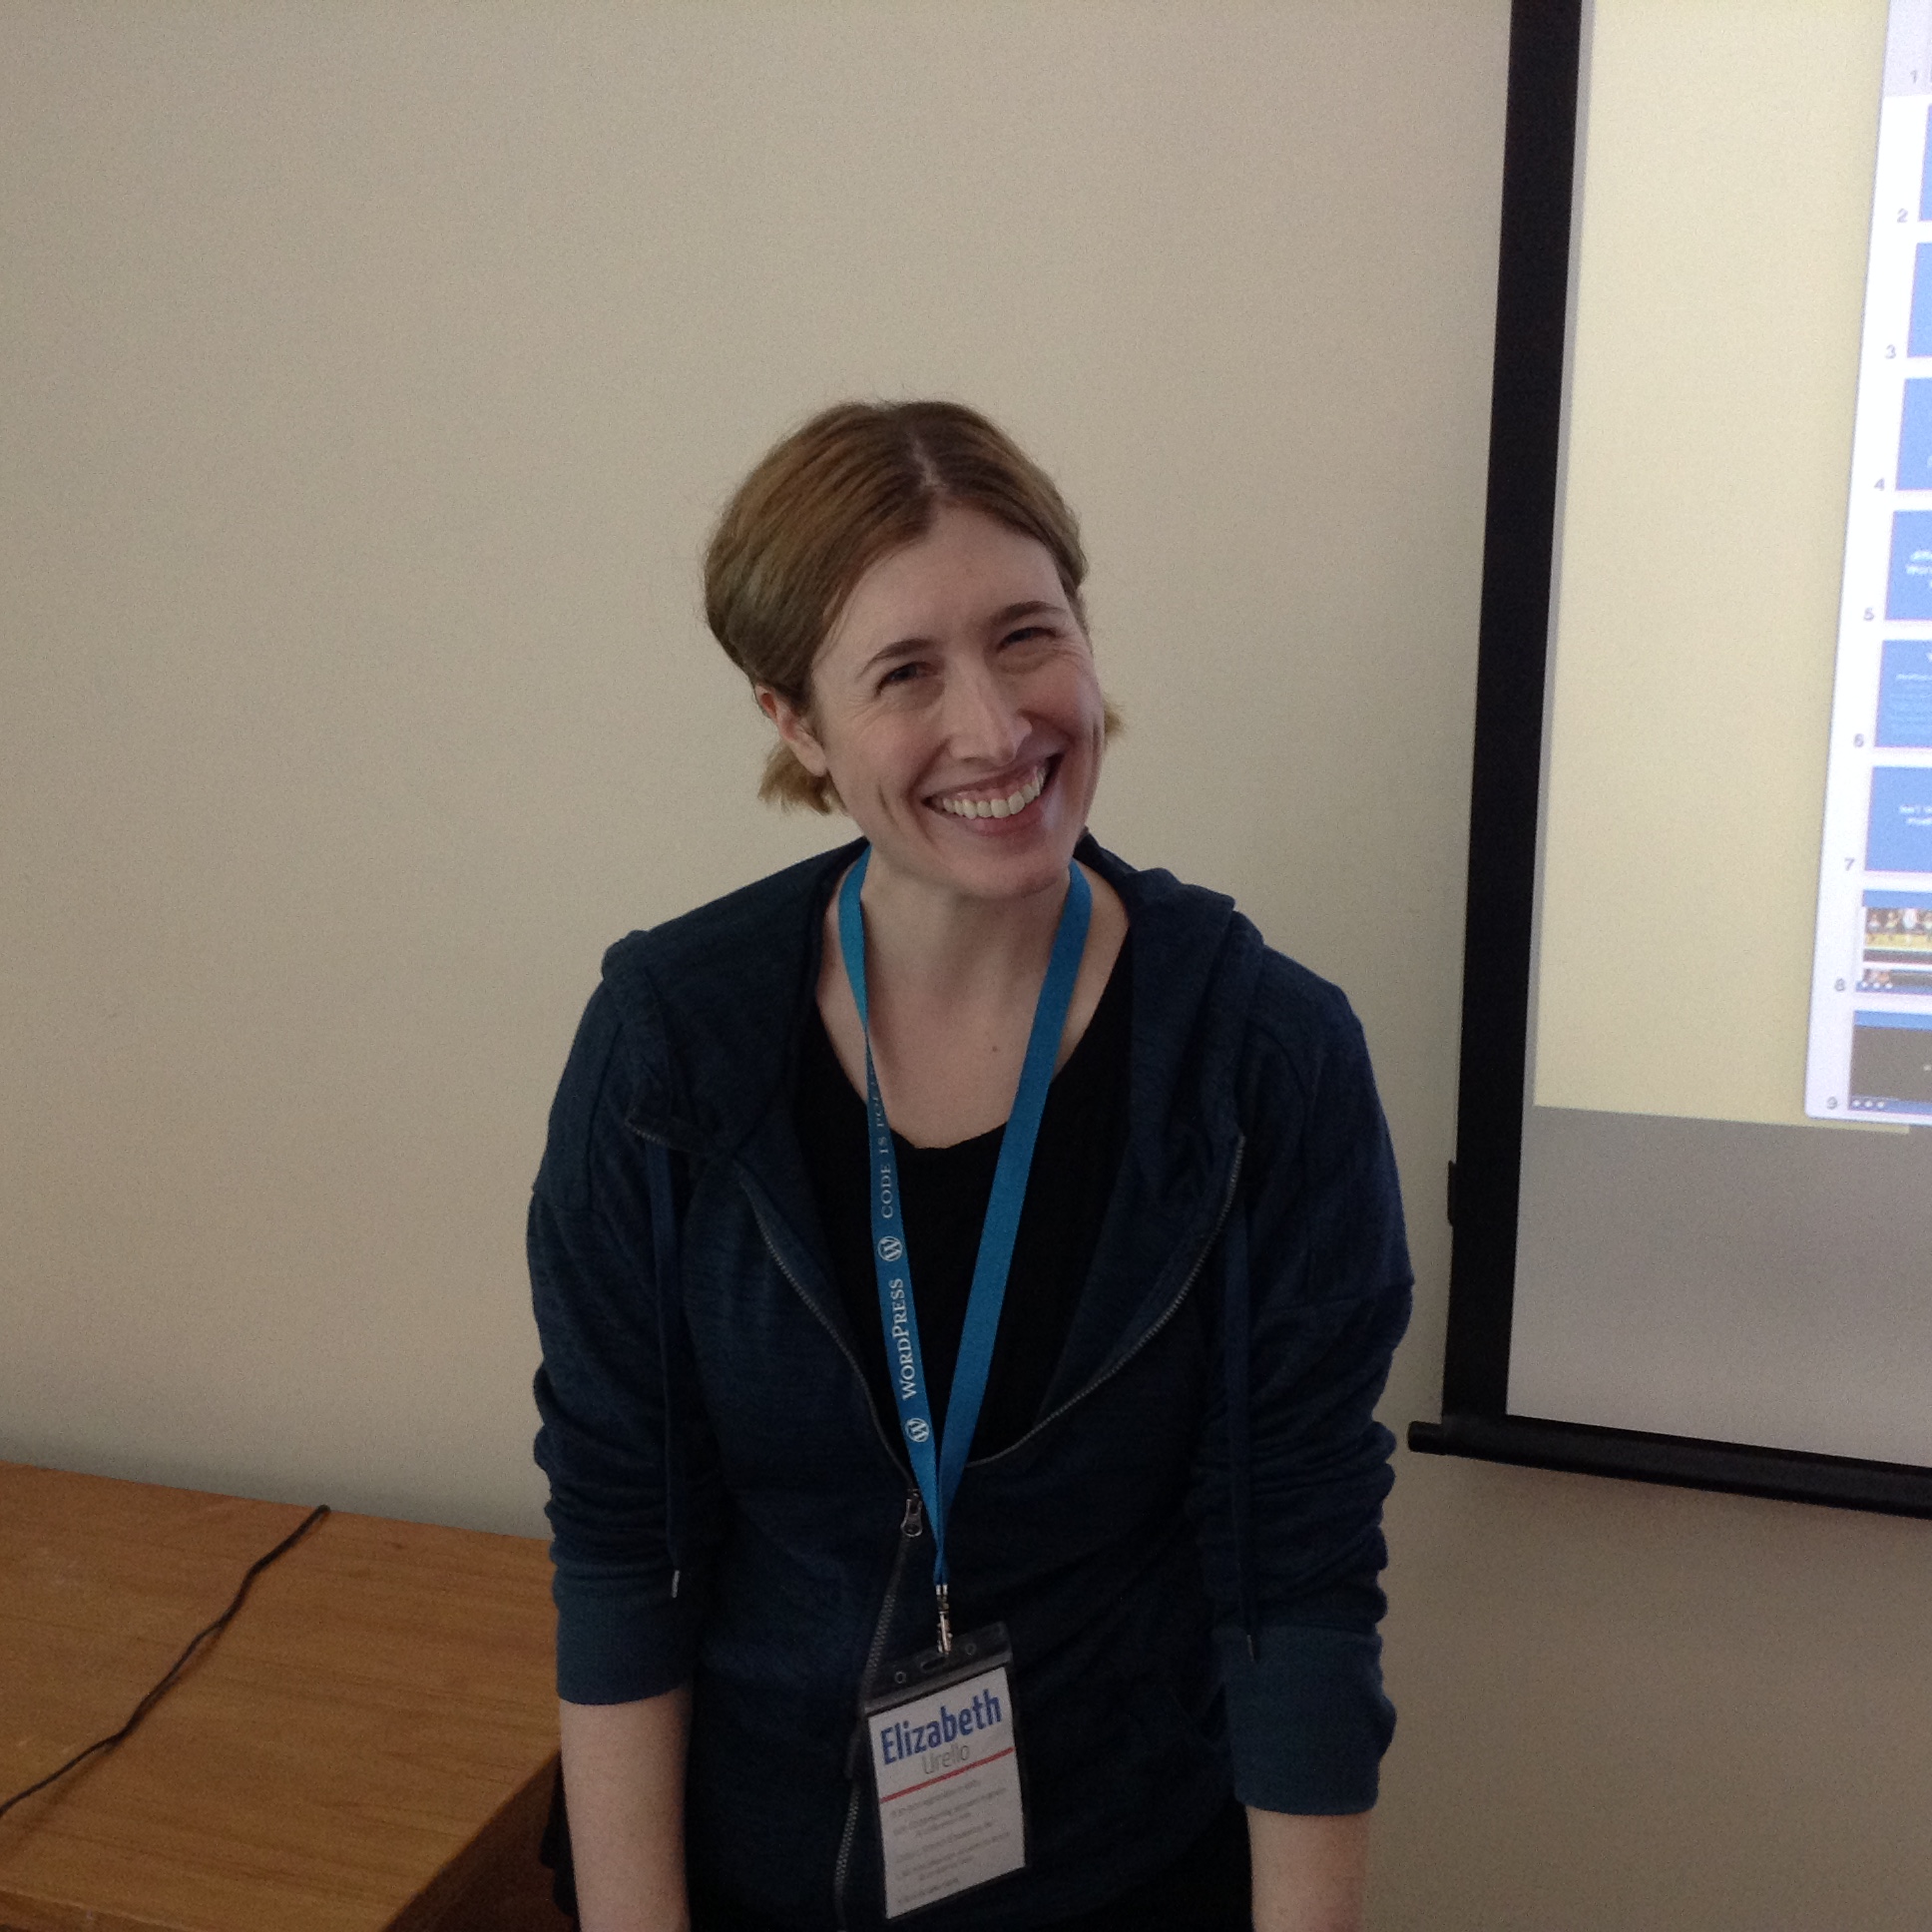
Elizabeth Urello gave this presentation. I’ve been inspired by her at previous Wordcamps and was looking forward to this one.
She talked about how to set clients up on WordPress.com in a way that enables them to maintain and keep the site updated themselves. She mentioned how beginner friendly and secure it is. WordPress.com has many new capabilites as well.
Wohoo! You Have Your First Website Up and Running. Now what?

This talk was from Mark Carrera. He talked about what you do in the in-between states of website building. What you do between deciding to build the site and getting it running. He works for a school and emphasized the importance so far fresh content on a website.
Unlocking WordPress as a Framework

Danny Santoro talked about the components of WordPress and how those components can be used to build any sort of website you want. He talked about themes as for styling and display, not for functionality. He described some of the components to pull from.
Project Management 3 … 2 … Launch!

Hilary Fosdal spoke about the business of building websites rather than the development of the website. She talked about process – client intake forms, payment schedules, and business matters like that. Her talk was brilliantly organized and delivered. She should write a book about business process for creative firms.
This was my experience and my day at this year’s Albuquerue Wordcamp. Everyone has their own experience at these events, but you always come away with new information and new contacts and acquaintances. If there’s a Wordcamp anywhere near you, you’ll find it worth attending..
3 Ways to Add Instagram to a WordPress Blog
There are several choices open to you if you want to bring in your photos from Instagram into a WordPress blog: You can add a badge from Instagram, use embedding, or choose from a number of plugins.

Place an Instagram Badge on Your Site
Sign in to your account on Instagram. There’s a “badges” option in the menu. A badge will put an icon on your site that links to your Instagram URL. It doesn’t bring in any images.

Select a badge type and copy the code. I selected an icon, copied the code, and pasted it into Text view in a post. What showed up was a nifty little Instagram icon that linked to my feed on Instagram.com.
If I wanted this type of Instagram badge on my blog, I’d paste the code into a text widget in my sidebar, near my other social media badges and buttons. It doesn’t make much sense to put this icon in a post, because it will get buried over time.
Embed a Single Photo
You can put a single Instagram photo into a blog post using the Instagram “embed” option. Find the icon showing three dots next to the comment box and click it to see the embed option.

Instagram gives you the option to embed a single photo. Copy that code and paste it into the Text view of your post, and the photo will show up.
Instagram’s embed feature allows you to embed other people’s photos in your blog as well. The link to the original image on Instagram is included in the embed code, and shows up when you hover over the word “Instagram.”
Having this link included with the image skirts copyright problems by linking directly to the photo on the Instagram feed of the creator of the image.
WordPress Plugins
With a plugin, you get more than just an occasional image to insert into a post. There are plugins to create image sliders, to back up your Instagram photos to your WordPress database, or to place a small gallery of photos in your sidebar; others do even more. Most of the plugins below only require your Instagram username to work. The last one I mention gives you the option to set it up using the Instagram API.
DsgnWrks Instagram Importer, according to its description, “will allow you to import and backup your Instagram photos to your WordPress site. Includes robust options to allow you to control the imported posts formatting including built-in support for WordPress custom post-types, custom taxonomies, post-formats.” This plugin also imports Instagram video. When you first launch DsgnWrks Instagram Importer, you can set up the import to filter by hashtags or by date. There are a number of custom tags you can use to control the title and content of imported images.
Instagram Picture provides a way to add Instagram images to almost any position in your blog. You can use shortcodes, widgets, and PHP to insert images with this plugin. Here’s a screenshot from the developer of one of the widget styles you can choose with Instagram Picture. This plugin also has a feature for adding individual image to posts.

Instagram Slider Widget will display a grid of thumbnails like you saw in the image above, but it also has the option to shows up to 20 images in a slider. You can set the number of images to include in the slider and set a time for how often the plugin goes to Instagram to look for new photos. Instagram Slider Widget has an option to insert the images into your WordPress Media Library, which gives you a backup of your Instagram photos.
Alpine PhotoTile for Instagram offers more options than the plugins mentioned above. It retrieves (but does not back up on WordPress) as many as 100 photos. According to the developer, “The photos can be linked to your Instagram page, a specific URL, or to a Lightbox slideshow. Also, the Shortcode Generator makes it easy to insert the widget into posts without learning any of the code. This lightweight but powerful widget takes advantage of WordPress’s built in JQuery scripts.” The lightbox feature on this plugin sets it apart from the others. Alpine PhotoTile for Instagram will insert photos in a page, a sidebar, or a post. Of all the plugins I’ve mentioned, it has the most and best reviews.
The WordPress plugin directory has many, many Instagram plugins; I’ve only scratched the surface with these four. The ones I’ve highlighted all have good reviews. I suggest you look at the number and quality of reviews when you consider any plugin. If you use a plugin yourself, it’s very helpful to the WordPress community (you) if you return to the plugin page and leave a review.
Keep in mind that a widget that doesn’t store your photos in WordPress, but instead reaches out to Instagram to retrieve photos, may experience delays in loading if the Internet is clogged up that day.
Many Instagram plugins allow you to display not only your own photos, but the photos of people you follow or photos with a particular hashtag. If you choose a plugin with that capability, check carefully for the copyright issues involved, and make sure the original creator of the image is linked to the photo. I can definitely see the value of a post with a slideshow based on a particular hashtag, say #blogher14. Enjoy sharing your Instagram photos on your WordPress blog!
GoDaddy Managed WordPress is built from the ground up for maximum performance, security and ease of use. Click here to experience the difference.
How to Use the WAVE tool to Test and Boost Site Accessibility
Did you hear? A website should be accessible to everyone who comes to visit. Yeah, I’m sure you’ve heard that. But how do you know if you have an accessible site? There are all sorts of rules and checks involved in accessibility, but if you’re working with a WordPress blogger who just wants to do the best with limited knowledge, there’s one tool that can be a big help. It’s the WAVE tool from WebAIM.

The WAVE tool tests accessibility. Many other tools do the same thing, but this one is particularly user friendly and helpful.
Start by entering your URL in the opening screen.
The tool churns away for a while, and finally posts a shot of your blog with icons all over it. Each icon tells a story about some accessibility feature of your blog.
The default results page shows you a summary in the sidebar. It lists errors (red icons), alerts (yellow icons), features (green icons), structural elements (blue icons), HTML5 and ARIA elements (lavender icons), and contrast errors (which don’t show up as icons). Above the summary results are buttons to let you look at the page with no styles, or to view only the contrast errors. To the left of the summary panel, you can opt to see details, documentation, or an outline of the page structure.
On the right, where your web site is pictured, you can click on any icon to get a brief explanation and a link to more information. In this image, the yellow alert icon is telling me that the link in the date goes to the same place as the link in the H1 heading just before it. This isn’t great, but it also is something about WordPress that I cannot change easily. I’ll get into what you can and cannot fix easily in just a bit.
You can look at the code for the items the icons mention if you click the “code” tab at the bottom.
When you click the “code” panel, you go right to the code for any icon you click.
Fixes: Dealing with Content
The easy fixes for WAVE tool errors and alerts all deal with the content of your page. This is the stuff you control when you enter a new post.
- WAVE looks for alt text on images. The WordPress image uploader always wants to add title text—you don’t need that. You do need alt text that describes what your image is and how it functions as part of your content.
- The WAVE tool checks for structural elements like headings and lists. Headings are important in terms of organization, structure, and information hierarchy. These should be real headings made from tags that begin with “h,” like h1 or h2 or h3, and not some words that you’ve made bold. Headings also help with navigation for users on assistive devices like screen readers.
If you don’t have these two features on your page, you need to change your habits as you write your content. Add the alt text as you embed images, and make headings using the formatting tools in the tool bar as you write your post.
Fixes: Dealing with CSS
You may have errors that relate not to how you enter content, but to the CSS for your blog. Perhaps your color scheme lacks enough contrast for certain users. In How (and When and Why) to Set Up a Child Theme in WordPress, I explained how to change the CSS in your blog with a child theme. If you need to increase color contrast or make other changes involving styles, a child theme is the way to do it.
Fixes: Dealing with Code
Some errors and alerts come out of the code that comes from WordPress. Sometimes errors like these are easy to fix; sometimes they are not. I pointed out a case above where duplicate links were shown in an alert. That’s just going to be that way on my blog.
There’s an error on my blog because the select menu for my categories doesn’t have a label. The category menu is a widget. There’s no way to get into the code for this widget. Knowing about the error made me do the best I can with the heading right before the select menu. I hope the heading helps, but this error is just going to stay an error.
The WAVE tool looks for ARIA landmark roles. If your theme is missing them—that’s a code problem that’s easy to fix. The fix uses a child theme. In Think about ARIA roles when choosing a WordPress theme, I explain how to insert ARIA landmark roles in your code. It’s easier than it sounds.
Getting started with accessibility can be daunting because there are so many details involved, but the WAVE tool can guide you on your way. Run your blog through it. Fix any errors and alerts you can fix. If you absolutely cannot fix something, so be it. But if you can correct an error with a simple change of habit—or by implementing a few easy changes —it will make a huge difference to your users.
Go back to the WAVE tool every once in a while, and retest yourself to make sure you’re still on track.
GoDaddy Managed WordPress is built from the ground up for maximum performance, security and ease of use. Click here to experience the difference.
Improve Your SEO with the WordPress SEO by Yoast Plugin
WordPress SEO by Yoast is one of the most useful WordPress plugins available. It’s been downloaded by millions of WordPress users. At the WordPress plugin review page, there are almost 1000 reviews, with a rating of 4.7 out of 5 stars. If you are like me and always check reviews before you download a plugin, you will agree that those are some impressive stats.

WordPress SEO by Yoast does several things that make it so helpful.
- It analyzes your post based on a focus keyword of your choice. It checks on your use of the focus keyword in the title, headings, and text.
- It looks at your title and lets you write a meta description of the post that appears on sites where you might promote your post such as Google+.
- It comes with Twitter card implementation, which means when you post to Twitter a description of the post appears in the tweet.
- It gives your post a rating of good, okay, or bad and teaches you how to improve your score if it isn’t as good as you want.
Let’s look at how it does the things I mentioned in more detail.
WordPress SEO by Yoast Analyzes Your Post with a Focus on Your Keywords
When the plugin is installed, a panel appears directly under your post. This is where you enter focus keywords and meta descriptions as well as learn how to improve your post and create meta descriptions targeted for particular social media if desired.

The snippet preview shows you how the post will look to the search engines. You enter the focus keyword and the meta description. As you enter the meta description, it tracks your characters and tells you how many are left. Save the draft of your post to see how SEO Yoast graded what you’ve done.
Your rating appears in the Publish panel.

The green disc next to SEO in the publish panel indicates that I’m doing pretty well with things. Yellow indicates okay and red is bad. If you click the “Check” link next to the colored disc, you are returned to the WordPress SEO by Yoast control panel, where the second tab gives you Page Analysis. You see the same info by selecting the Page Analysis tab.

By looking at the page analysis, I can see what I need to change. I changed one of my H2 headings after checking this. I appreciate getting the reading level analyzed, because I tend to write long convoluted sentences, rather like this one, that decrease readability.
Customize the Meta Description for Different Sites
If you select the Social tab in the control panel, you can customize the meta description for specific sites.

Twitter Card Implementation with WordPress SEO by Yoast
Using Twitter cards makes a big difference in how your tweets display. The heading, the description, and a photo all show up on Twitter if you use a Twitter card. Here’s an example of how a tweet with a Twitter card looks:

With the plugin installed, an SEO category appears in your WordPress Dashboard menu sidebar. Clicking anything in this menu takes you to the Yoast WordPress SEO dashboard, so I always make sure I’ve saved my draft before I use this menu.

Select Social and then select the tab for Twitter.

Select the Twitter card meta data checkbox and supply your Twitter Username. Save. Follow the link to the Twitter Card Validator, where you’ll pick a card type, grab some embed code to add to the document HEAD of your page, and apply for Twitter card approval.
A Few Final Options
The screen shots above show a number of options and settings I didn’t have the space to get into in this post. On the Advanced tab, there are options for redirects, Canonical URLs and more. Options in the sidebar SEO category will take you to the Yoast WordPress SEO dashboard where you can set up your site with Google and Bing webmaster tools, make choices about titles and meta settings, enable an XML sitemap, make choices about permalinks, internal links, breadcrumb settings, RSS feeds, import settings from other plugins, and edit your robots.txt and .htaccess files.
I’m not a heavy user of plugins, but this one provides a lot of benefits. I think you’ll find it helpful. You can download the plugin from the developer’s site at yoast.com or from the WordPress plugin directory.
GoDaddy Managed WordPress is built from the ground up for maximum performance, security and ease of use. Click here to experience the difference.
How (and When and Why) to Set Up a Child Theme in WordPress
If you aren’t quite up to creating your own WordPress theme from scratch, but you know some CSS, you can still customize a WordPress theme. The secret is using a child theme.

Besides knowing a bit of CSS to customize your theme, you also need to know how to create a folder and add a file to it on your server. You can do this with FTP, or you can sign in to your server and use the control panel to do it.
Pick a Theme
What kind of theme do you want? You might be looking for a responsive design that will work on any device, you might want a certain number of columns or a certain layout. It’s often easy to find something that’s almost what you want. Maybe you don’t like the colors or want different fonts, but it comes close to what you want. That kind of theme is a perfect candidate to customize with a child theme.
Get your almost-perfect theme installed in WordPress and make it the active theme. Now you’re ready to start working on the child theme.
Create up the Child Theme Folder
For the examples, I’m going to assume you picked the WordPress theme twentyeleven. Everything I say about twentyeleven should be changed to reflect the name of the theme you actually use instead.
In your themes directory, create a new folder. If the theme you’re using is twentyeleven, the folder for the child theme would be twentyeleven-child. That’s the theme name, a hyphen, and the word child. Here’s an example of how it might look.

Add the new Style Rules
The only file that has to be placed in the new child theme folder is a style.css file. Any changes you make to the CSS for the theme will be saved in the style.css file in the child theme folder and will overrule the CSS in the parent theme once you’ve set it all up.
The style.css document you put in the child theme folder must start with specific information. Of course, you change it to match your particular names.
/*
 Theme Name:   Twenty Eleven Child
 Description:  Twenty Eleven Child Theme
 Author:       Jane Doe
 Author URI:   http://example.com
 Template:     twentyeleven
*/

@import url("../twentyeleven/style.css");

/* =Theme customization starts here------------ */
You don’t have to have all that. The only required lines are the Theme Name, the Template, and the ‘@import url’ line. The @import line brings in all the style rules from the parent theme.
Under the line where it says “Theme customization starts here,” put any new style rules you need. The rules you’ll need are things you want to be different from the way they are in the parent theme.
Activate Your Child Theme
Even before you add any CSS rules to the child theme stylesheet, you can activate the theme. Log in to your WordPress site’s dashboard. Go to Administration Panels > Appearance > Themes. You will see your child theme listed there. Click Activate.
When you look at your blog in the browser, it will look exactly like the parent theme, but as you add new rules to the child theme style.css file, you will see your customizations taking shape.
Find the Selectors and Write New Styles
If you see something you want to customize, you need to look for it in the style.css file for the parent theme. Once you’ve found the rule in the parent stylesheet, you know what selectors to use to make changes in the child stylesheet.
For example, on one of my blogs, I didn’t like the way the h3 headings in the parent theme looked. I found the rule for the the h3 headings. In my parent theme, it looked like this:
.entry-content h3,
.comment-content h3 {
	font-size: 10px;
	letter-spacing: 0.1em;
	line-height: 2.6em;
	text-transform: uppercase;
}
I didn’t like the size, or the line height, and I didn’t like the uppercase. To overrule that, I used the same selectors, but I put a new rule for those selectors in the style.css file in the child theme folder.
.entry-content h3,
.comment-content h3 {
	font-size: 16px;
	font-weight:bold;
	line-height: 1.6em;
	text-transform: none;
}
I got bigger, bolder, headings that weren’t all uppercase! Just what I wanted.
More Advanced Customizations
Other parts of your theme can be customized as well. You might want to add something to the header.php file or the functions.php file. This can be done by adding the changed files to the child theme folder. If the parent theme is updated, none of your changes in the child theme folder will be lost. The WordPress Codex has more information to help you to move to the advanced level.
Note that a child theme can only be used when a blog has WordPress installed on its own domain. Child themes won’t work for themes hosted on wordpress.com.
GoDaddy Managed WordPress is built from the ground up for maximum performance, security and ease of use. Click here to experience the difference.